This tutorial stage no longer applies to KeeFox 1.4 in Firefox 29 and above. If you've arrived here from an old link, you probably want to go to the start of the tutorial or the KeeFox home page.
Remember that lovely picture of the KeeFox toolbar earlier?
That's the standard KeeFox toolbar configuration but in the true Firefox spirit you'll find it's very easy to customise it to your needs. For example, you might want to move the buttons onto a different toolbar and hide the KeeFox one entirely in order to save screen space as the image below demonstrates. Tell me how to do this.
You can customise most Firefox toolbars by right-clicking on some empty space on the toolbar and selecting "Customise...". When the "Customise Toolbar" window appears you can then drag and drop most items on a toolbar to different locations on the toolbar or even to completely different toolbars. In the example below, all three KeeFox toolbar buttons have been dragged and dropped into the little space between the address bar and the search box. After moving all toolbar buttons from the KeeFox toolbar, it was un-necessary to have that empty bar taking up space so we right-clicked on the toolbar and selected "KeeFox" so the toolbar no longer appears.

You may find occasions where you need to fill in "HTTP authentication" dialog boxes such as the one pictured below.
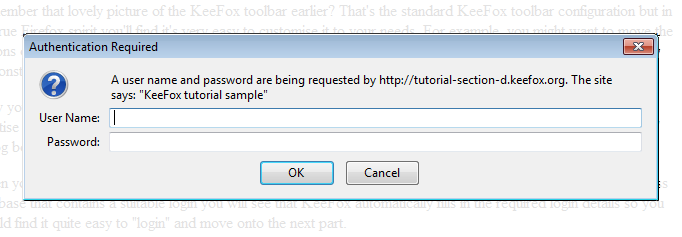
When you move onto part 6, you'll be shown one of these dialog boxes but you will see that KeeFox automatically fills in the required login details so you should find it quite easy to "login" and move onto the next part.
Click "Continue to part 6"